TabPy Heroku Deployment with Authentication Enabled

Since Analytics Extensions for Tableau Online were announced (read Analytics Extensions are Available with Tableau Online! on this blog and https://www.tableau.com/about/blog/2021/1/developers-analytics-extensions-tableau-online on Developer Platform news) there were a lot of interest and questions from people who want to try the new feature. And in many cases those who want to investigate using Python or any other analytics extension don’t have it configured and running yet.

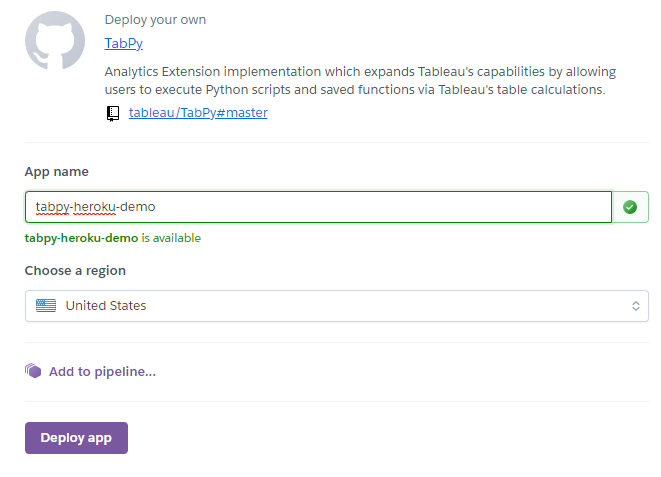
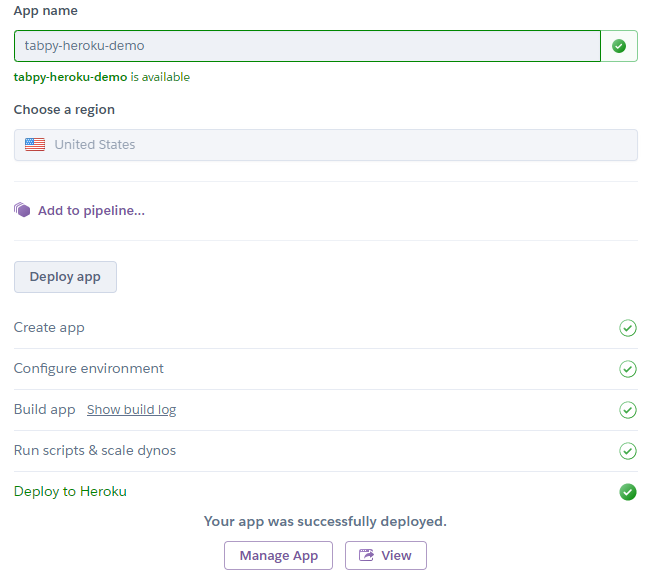
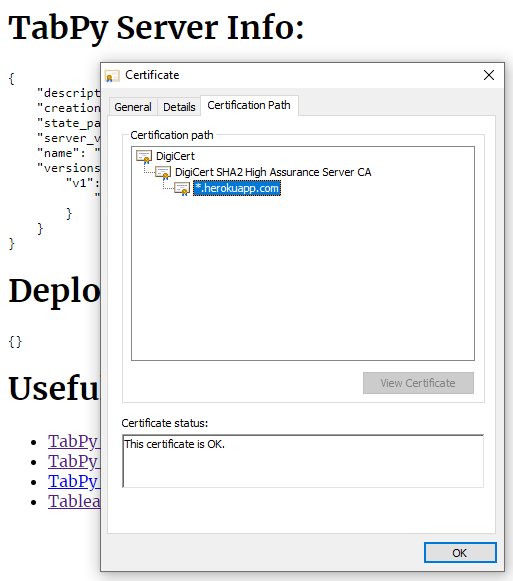
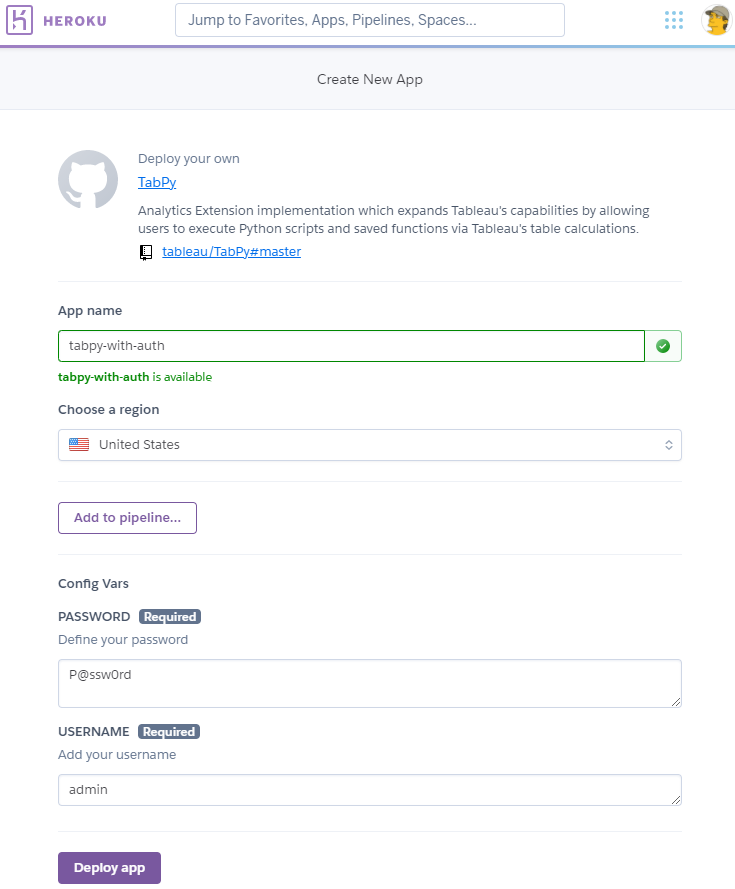
Previously TabPy repo on github (https://github.com/tableau/TabPy) provided Deploy to Heroku button which allows to deploy TabPy in just a few clicks. However, deployed new instance won’t have authentication configured. And having both authentication and SSL is a requirement for analytics extensions to be able for using by Tableau Online.

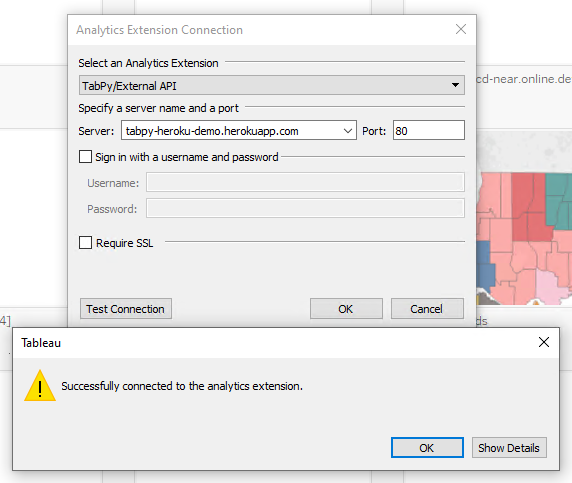
With the latest improvement now you can specify user name and password for the instance:

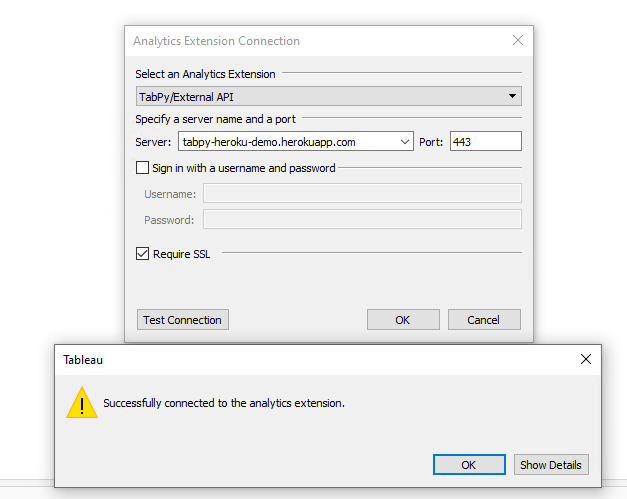
Now the instance requires credentials which can be configured for a connections as shown in Analytics Extensions are Available with Tableau Online! post.

Another approach described in TabPy + Heroku = Tableau Online post and is useful for when you need to create your own flavor of TabPy – not only you can specify multiple users, but also can configure any other parameters. This approach requires a bit more work but gives a lot of flexibility in configuring TabPy for you needs. And with your own modifications you can deploy your own version of TabPy on Heroku the same way just in a few clicks.

How to Get Online-Accessible TabPy Instance with Heroku

Although it is very easy to install TabPy on your laptop, desktop, VM, and so on with just pip install --upgrade tabpy command there are some limitations and additional work which needs to be done. Some examples are:

  • You environment has to be configured – supported Python version (3.6 or newer at the moment this post is written) needs to be installed.
  • To isolate TabPy from other Python applications you may want to use Anaconda (additional reading – How to run TabPy with Anaconda on Linux), Python virtual environment or similar solution.
  • The machine with TabPy on it cannot be accessible outside of you work/home network.
  • You don’t want to expose the machine with TabPy on it to the whole internet.
  • and so on…

And there is a way to quickly create TabPy instance available everywhere via the internet just in minutes. It is done with Heroku which by their own words is

Heroku is a cloud platform that lets companies build, deliver, monitor and scale apps — we’re the fastest way to go from idea to URL, bypassing all those infrastructure headaches.

https://www.heroku.com/what

In simple words Heroku allows you to have accessible with internet applications running on their side which lifetime you control. What languages are supported and other documentation is available at https://devcenter.heroku.com/.

For what I am demonstrating here free Heroku account is sufficient – register at https://signup.heroku.com/login.

When you have registered and successfully logged to your Heroku account go to TabPy GitHub page at https://github.com/tableau/TabPy and click Deploy to Heroku (purple button on the screenshot below) button or use this link – https://dashboard.heroku.com/new?button-url=https%3A%2F%2Fgithub.com%2Ftableau%2FTabPy&template=https%3A%2F%2Fgithub.com%2Ftableau%2FTabPy.

On the first screen provide your application name (it has to be unique across Heroku applications) and click Deploy app:

Wait for application to be installed, configured and started (all steps should succeed as shown on the screenshot below):

To access the application click View button or use URL https://<your-app-name>.herokuapp.com/ (in the example above it is https://tabpy-heroku-demo.herokuapp.com/).

That is it! You have TabPy instance accessible via the internet. Hostname for it is <your-app-nme>.herokuapp.com and port is 80:

For secure connection use port 443 and set Require SSL checkbox as screenshot below demonstrates:

Secure connection uses certificate from Heroku issued by DigiCert:

There are some limitations to this solution:

  • You may use your own certificate, but it is not free.
  • The port is not configurable – it is always 80 or 443.
  • There is no authentication.

To resolve the limitations above you may configure and create your own Heroku application based on TabPy. What you have instead in easy and fast way to get TabPy up and running available from anywhere when you need it.